
Ultimate Guide to Air Plants [Tillandsias]
[This post contains affiliate links. Click here to read my full disclosure.]
If you’re looking for an “air plants for beginners guide”, this is it - a definitive primer to growing air plants, a.k.a. Tillandsia.
In addition to air plant horticulture and and their botanical background, I also cover decorating with air plants with some beautiful ideas for air plant hangers, holders, and other display ideas.
Air plants are a top contender in the most-popular-houseplant contest, and with indoor plants already being such a huge trend, that’s saying something.
It’s easy to see why - they’re both beautiful and unusual while being super-easy to care for. How often do you see that combo?!
In many ways, air plants are the perfect houseplants. They don’t need any soil so you’re free to move them around and display them as you like. Plus, they’re as low maintenance as a plant can be.
Read on to get all the details on one of my all-time favorite indoor plants!
Air Plant Habitat, Species, and Unique Characteristics
Air Plant Light
Air Plant Temperature & Humidity
Air Plant Watering
Air Plant Fertilizer
Air Plant Troubleshooting
Displaying Your Air Plants
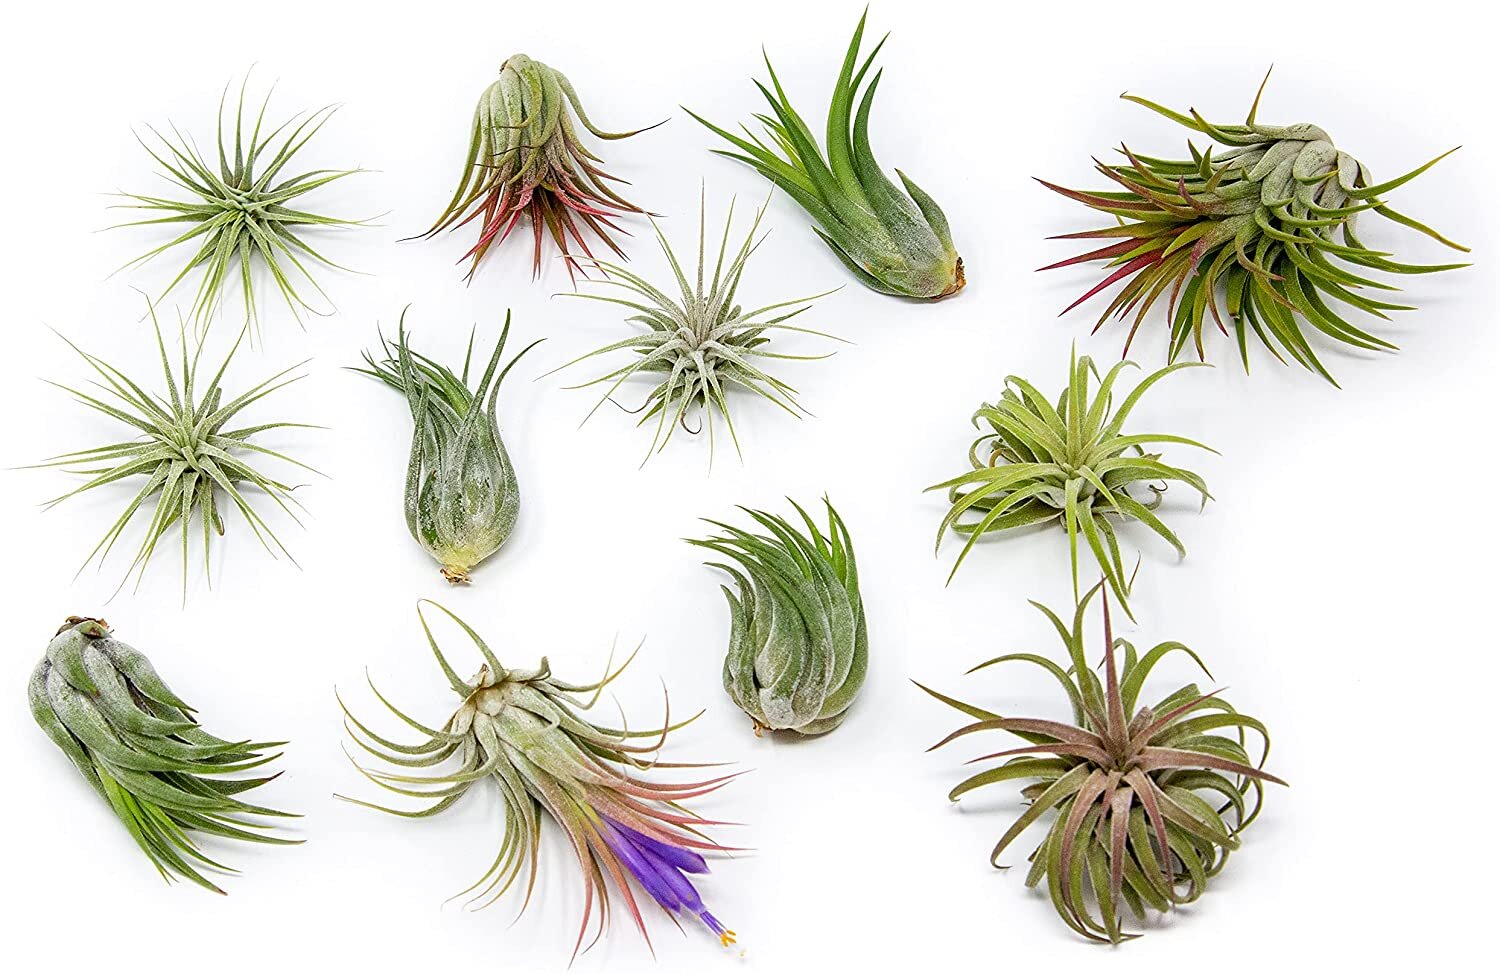
Before we get going, if you need to add to your air plant collection (and they’re oh so fun to collect!) or you need your first air plant, check out these below!

Air Plant Habitat, Species, and Unique Characteristics
Tillandsia (a.k.a. air plants) is the largest genus in the bromeliad family. There are more than 600 known species and countless hybrids. They’re native to Central and South America and even a small part of the Southern US. Air plants are usually divided into two categories: mesic and xeric, and much of what puts them in one category or the other are the quantity and size of their trichomes.
Trichomes are the raised hair or scale-like structures all air plants have that cover the surfaces of their leaves to be able to extract the moisture and nutrients that come their way as well as reflect sunlight in desert conditions for xeric species. The more fluffy and gray a tillandsia looks, generally the more sun and heat it can take. (This is true of other plants with gray, fuzzy leaves as well.)
Basically, trichomes are what allow air plants to be air plants!

Closeup of desert dwelling Tillandsia tectorum air plant - long, hairy trichomes used to capture moisture and reflect sunlight. Photo - Wood Inspire Shop

Closeup of tropical Tillandsia bulbosa air plant - smooth, green leaves with smaller trichomes. Photo - Wood Inspire Shop
Mesic tillandsia are native to moderately humid regions like Central and South American rainforests. They prefer more filtered light than xeric types. The leaves of mesic air plants are deeper green and smoother due to smaller and fewer trichomes.
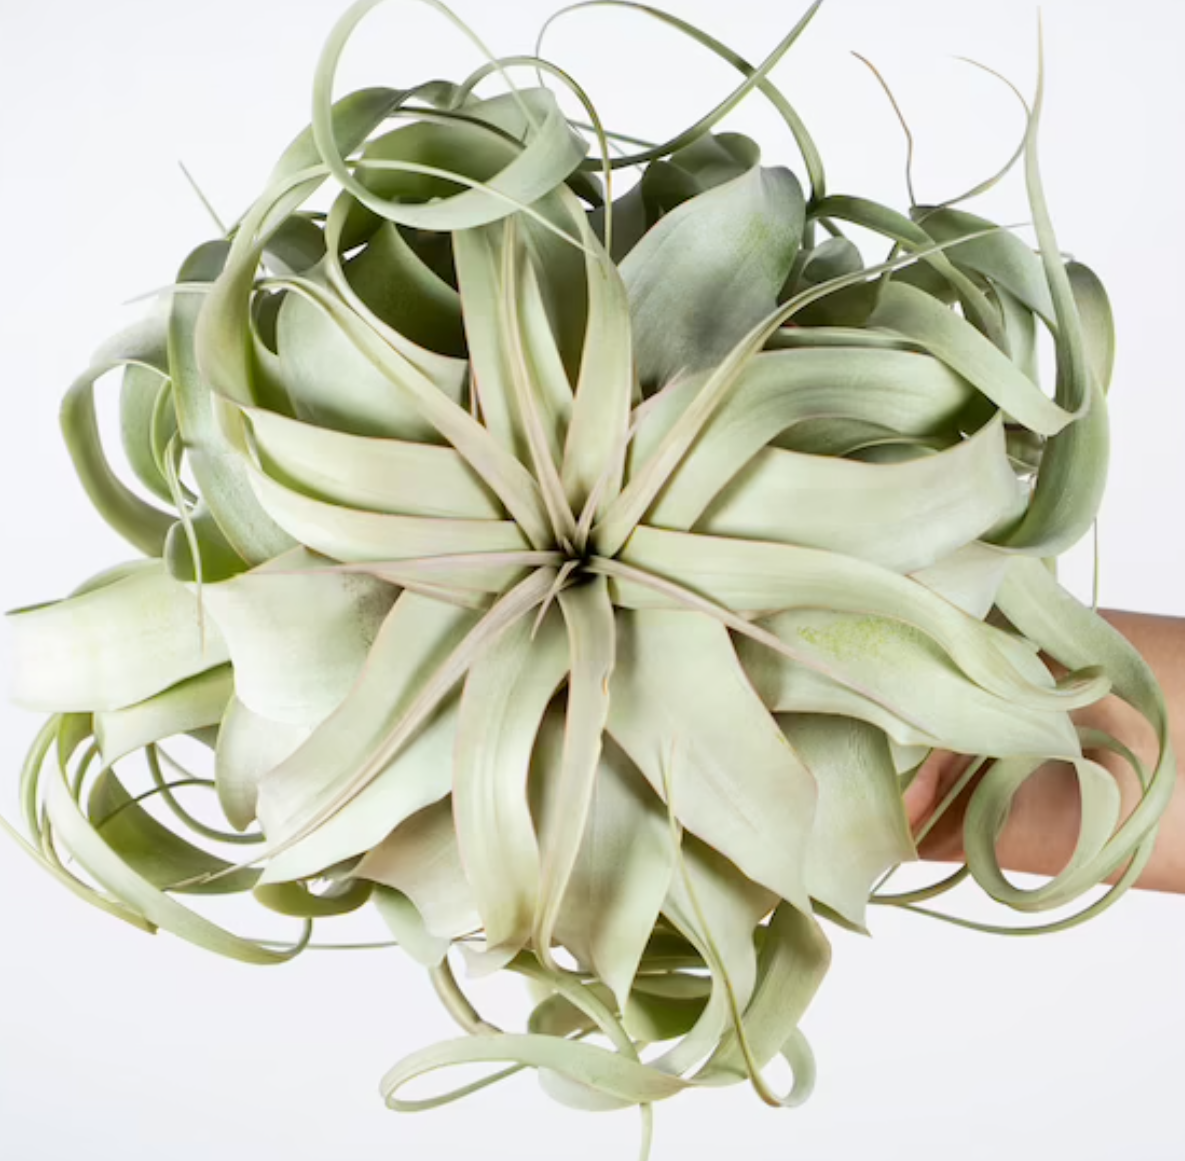
Xeric air plants are from drier, more desert-like climates. Their leaves have a higher concentration of trichomes that are larger in size compared to the mesics, giving them a gray or fuzzy appearance. Often their leaves are wider to allow more surface area for absorbing water and light.

Mesic air plant - Tillandsia bulbosa. Note smooth, green leaves. Photo - Wood Inspire Shop

Xeric air plant - Tillandsia streptophylla - many trichomes give it a gray, fuzzy appearance. Photo - Wood Inspire Shop
Fun fact - Tillandsia are epiphytes, which means they typically live on on a branch, trunk, rock, or other place that isn’t soil so they aren’t saturated in water for long.

Epiphytes - two tillandsia air plants growing on a branch, Spanish Moss and an unknown type. Photo - Max Letek via Unsplash
Epiphytes aren’t parasitic and cause no harm if growing on another plant. Tillandsia roots are purely for attachment to tree branches or whatever surface they chose to attach to. So you don’t even have to worry about watering them!
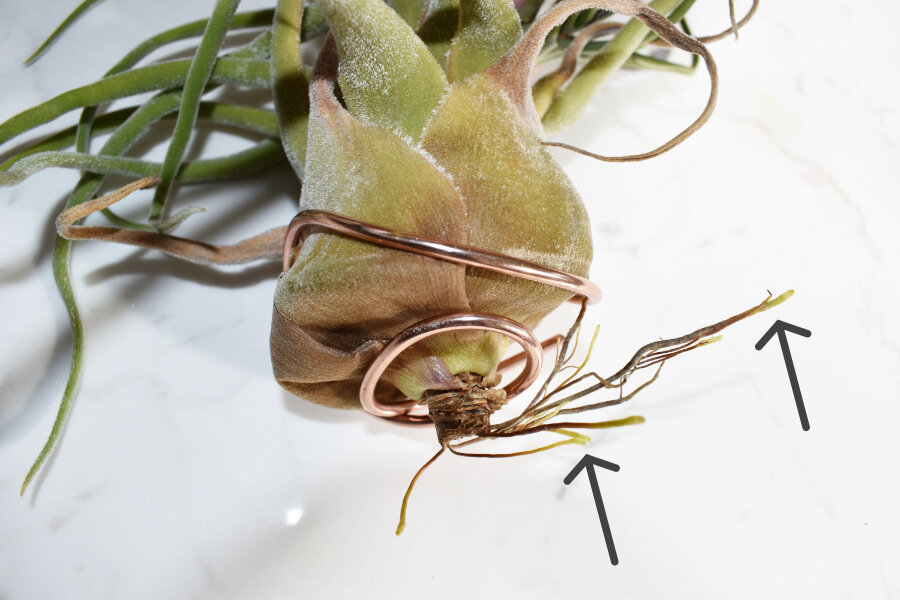
Actively growing roots on Tillandsia caput medusae. They don’t need water since their only purpose is to attach to a tree or object. Once they stop growing they turn dry and brown.
[Want more design inspo and helpful plant tips? Let's hang out on Instagram!]
Air Plant Care
Air Plant Light
Where to put your air plants to keep them healthy? Tillandsia prefer bright, filtered light. According to Wood Inspire Shop, which sells only air plants, keeping them no more than 12” away from of a window indoors or a full-spectrum artificial light works well.
A few of mine are farther - up to about 5' away in a room with sheer curtains always over the windows. They are doing very well, but it's a southern and western facing room with a lot of natural light.
Not surprisingly, the xeric types with their gray leaves and plentiful trichomes can tolerate the most sun.
If using artificial light, the “day length” should be about 12 hours.

Air plants need bright unfiltered light, so ideally keep them 12” (or closer) to a window. Caveat - light could be too intense if it’s a bright, south facing window and/or during fall-winter when sunlight is more intense from shining in at lower angle. Photo | onehappycactus via Pixabay
Air Plant Temperature & Humidity
Air plants prefer temperatures in the range of 50-60 degrees F at night rising to 80-90 degrees during the day. In other words, they’ll be pretty happy inside the average home, temperature-wise. What doesn’t make some of them so happy in the average home is the lack of humidity. (Mesics, I’m especially looking at you.) Keep your air plants away from heating vents and fires.
Overall, they prefer humidity in the 50-70% range. So its not too far off from the average indoor humidity level, which often falls around 40-60%, but not enough for them to do well without supplemental water.
Also, it depends on where you’re located and what time of year. Philadelphia in winter is less humid than Philly in summer. Of course, they will need supplemental water though unless you keep yours in a brightly lit bathroom where the steam is regular and plentiful.
Overall though, air plants are about as forgiving as a houseplant can be. Heck, they don’t even make you put them in soil!
For optimum Air plant happiness though, read on for a practical game plan to water and fertilize them. (Because who doesn’t want to make their air plants happy?)
Air Plant Watering
When it comes to air plants, there are some who swear by misting, others by soaking, or a combination. I will lay it out it from the get-go; I fall into the soaking camp. I have a couple of reasons why I think this is easier and more practical.
If you choose to mist, to give your air plants enough moisture, misting needs to happen roughly every other day, depending on your tillandsia type and your conditions. (Again, less if you live in Miami, more if you live in Palm Desert.)
If you have just one air plant, that may be a realistic schedule to stick to. Just keep your mister nearby, whip it out and mist every other day or so.
However, after starting out with just one air plant, you may find that they mysteriously start multiplying. By this I mean you start acquiring more.
And then you start to scatter them around the house because you fall in love with their quirky appearance and find they enhance your sense of green well being and your home decor.
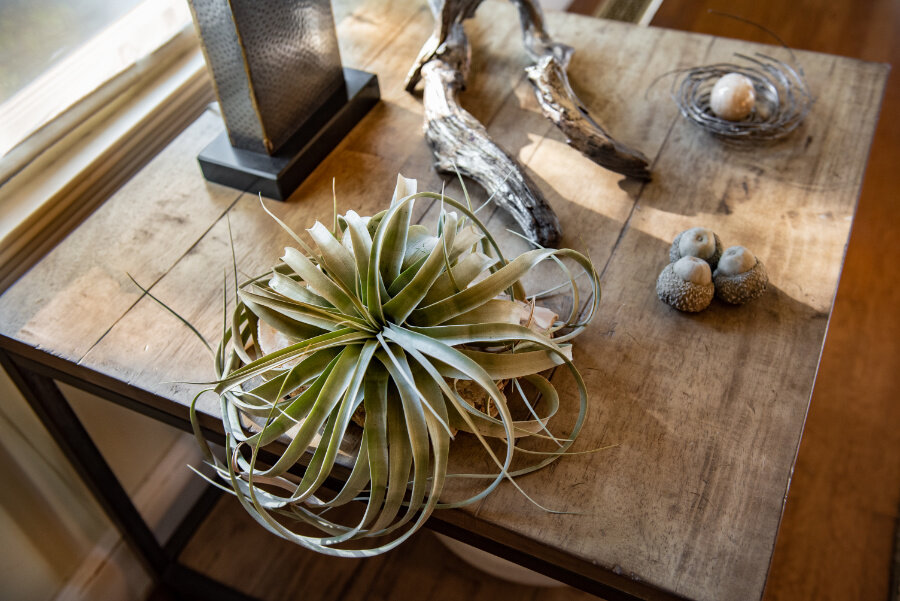
Tillandsia xerographica air plant on a side table in my living room.
So if you find yourself with a bit of a air plant collection, you may also find that realistically, running around misting various plants in various locations doesn’t really happen with consistency. This can lead to shriveling leaves and browning leaf margins. For more on this, see Troubleshooting below.
Another reason is that if your air plants are part of your home décor like they are at my house, they may be on surfaces or next to objects that you do not want misted on a regular basis. Wood, metal, paper - tabletops, books or artwork etc.
With time and regular misting, there’s definitely the possibility of surface damage; wood lifting/paper warping, rust etc. And picking them up and taking them into a kitchen or bath where its ok to mist will probably not happen as often as it should.
A third reason is that misting will not always ensure even and thorough coverage of your air plants. If you are really diligent about your every-other-day or so thorough misting, this is likely fine since they will get enough coverage through frequency.
However, if its more like once-a-week-if-they’re-lucky misting, you may see some repercussions through brownish tips and die-back eventually.
I’ve been there with the brown and shriveled air plant - and neither one of us were happy about it. So instead, I’ve adopted what I affectionately refer to as “air plant bath day.”
Air Plant “Bath Day”
About every two weeks, I round up all the air plants and do the following:
Make sure the sink is clean because we don’t want oil or food crud blocking their trichomes.
Place your air plants in the sink and turn on the water. Using warm water (they’re from subtropical/ tropical areas after all) I fill the sink part way.
Next I place my air plants in the sink upside down. This is so the tops get wet without getting as much water in the base. (You’ll see why this is important in a minute.)
Then I do use my sink sprayer on a gentle spray to get the bottoms of the leaves wet. Remember, the roots don’t need to get wet since they’re only for attachment.

Air plant bath day! Soak your air plants for about 10 minutes upside-down. Then shake them upside down thoroughly and place them on a towel to dry. If water is allowed to collect in the base, your air plants may rot eventually. (See my rotted T. strephtophylla image further down.)
When they’re all wet in the sink, let them soak for about 10 minutes.
I used to make the mistake of letting them soak overnight regularly - I figured it was ok since I often went more than two weeks (ok, a lot more) between air plant bath days. But then one day I noticed the bottoms of one of my Tillandsia xerographicas and a T. streptophylla were brown. When I touched the basal leaves, they basically fell apart. They had each rotted!
I think this happened from a combination of letting them sit in water too long, and then failing to turn them upside down and really shake the excess water out.
UPDATE: I have a streptophylla that’s still starting to brown at the base even though I’ve never soaked it! They really seem to be even more rot sensitive than xerographica.
Streptophylla could be a good candidate for misting only, if that works with your watering routine.
After they’ve soaked, carefully pick them up and while still upside-down, shake out the excess water. This is VERY important.
Place them on a towel, to help absorb the water so they dry more quickly. Placing them on their side or upside down (as long as they’re small enough to not get damaged) is also recommended to ensure drainage out of the base.
They should be dry to the touch by 3 hours - check the base. If not, try putting them closer to a window or a place with good air circulation.
Once dry enough so they won’t cause any moisture damage to your surfaces, put them back where they normally hang out.
Air Plant Fertilizer
Air plants need little fertilizer since in their natural environment, they collect the water and nutrients they need from whatever falls from the sky and the forest canopy.
However, for optimum growth, and if you want to encourage blooming, fertilizer is a good idea.
Air plants need a very dilute formula of fertilizer, since they’re very sensitive and will burn if given normal fertilizer.
First some general fertilizer info:
Air Plant Fertilizer Components
The most common garden-variety plant fertilizers consist of a ratio of Nitrogen, (N) Phosphorus, (P) and Potassium (K). This is represented on the label as “N-P-K” with 3 associated numbers next to it indicating the ratio of each element by weight.
Nitrogen is responsible mainly for greening and the overall shoot growth of the plant, what horticulturalists call “vegetative growth.” In other words, “non-reproductive growth”
Phosphorus is responsible for root formation, flowering, and setting seed - i.e. “reproductive growth.”
Potassium is important for the plant cellular function and regulation. Specifically, it helps the cells maintain turgor pressure, which keeps foliage from wilting.
So if you do want to promote healthy vegetative growth or encourage blooming, you can dilute liquid fertilizer to 1/4 the recommended rate and add it monthly to your regular watering schedule.
However, two more points of caution when using standard fertilizer on your air plants:
Make sure your fertilizer doesn’t contain any copper or zinc micronutrients which are toxic to bromeliads and tillandsia. Many fertilizers have these components, so look carefully at the label.
Fertilizers that contain urea or fish emulsion shouldn’t be used since these compounds need bacteria found in the soil to break them down into a form of nitrogen plants can utilize. Since there’s no soil, don’t use.
Between the low-nitrogen ratio, damage that can be caused by copper or zinc, and lack of efficacy of urea/fish emulsion, you may find it simpler and safer to purchase a bromeliad/tillandsia-specific fertilizer.
After watering my air plants, I sometimes give them a spritzing with my Air Plant Fertilizer..
A note on air plant blooming
When air plants bloom, they will eventually die. It’s a slow process that may take several months or even more than a year, but it will happen. However, the upside is that it should produce pups which you can gently twist off and then you’ll have new, albeit smaller, plant(s).
Air Plant Troubleshooting
Leaf Abscission vs. Underwatering vs. Base Rot
I want to go over in a little more depth a few things to look out for with your air plants. Sometimes it can be hard to figure out what’s the actual cause of a problem, so I’ll go over how to tell what’s what.
Leaf Abscission
As new leaves are produced out of the center of your air plants, leaves on the outer-most layer at the base naturally turn entirely brown with time as they die off. This is called leaf abscission and it’s totally normal.

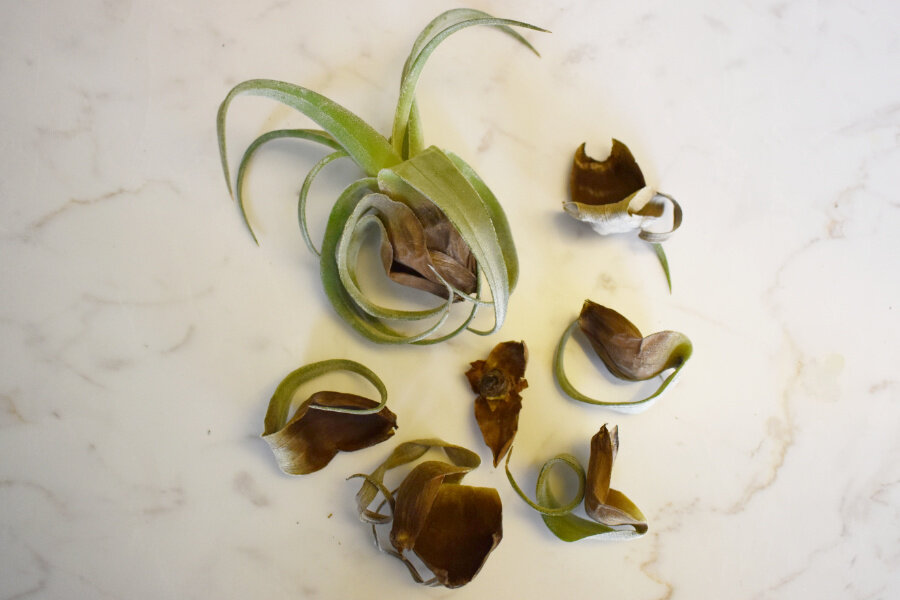
Normal, healthy leaf abscission in Tillandsia xerographica. Abscission is the normal shedding of a plant part like a leaf, fruit, or seed.

Tillandsia xerographica after it naturally shed dead outer leaves from its base (leaf abscission) - the entire leaf is dead and pulled off easily without any cutting or tearing.
Underwatering
Lack of moisture caused by not misting or watering enough causes air plant leaf margins to turn brown along with shriveling of the leaves and even the whole base.
When this happens, water it and trim off the brown parts. Try to angle your cuts along the lines of the leaf as best you can so it looks more natural.

Mesic air plant Tillandsia bulbosa that was kept on the same water schedule as my xerics. Note the brown, dried leaf tips and somewhat shriveled bulb base. It’s not normal leaf abcission on the base because so many leaves have already been removed because they dried out due to underwatering. (Look at all the rings above the roots.)
Base Rot
As I mentioned in the watering section, I’ve had a few xeric air plants rot at the base caused by soaking too long and water getting trapped in the base. That’s why I now water them upside down and then thoroughly shake them upside down before setting them out to dry.
Tillandsia strephtophylla with a rotted base. Notice how the leaf tips are green while only the base is brown. This is a clue it has rotted rather than normal leaf abscission.
Trichome damage
One last troubleshooting item: Be a little bit careful when handling your air plants. The reason is that their trichomes can get damaged if the leaf surfaces are scratched. It’s not so noticeable on the green mesics, but it can stand out on the leaves of the silvery xerics.
If trichomes are damaged, they don’t recover or grow back. The ends of their leaves are often quite delicate and can get bent or broken easily.
I would know - my poor xeric types have lots of scratches! I’d love to blame the cat, but I think it’s a lot more about my long fingernails on air plant bath day!
This is why I don’t dry them upside down either, as is sometimes recommended. The smaller ones would be fine, but larger, heavier ones would have damaged trichomes and bent leaves.

Damaged trichomes on my Tillandsia xerographica. It’s caused by scratching or some other abrasion.
Displaying air plants
Now that we’ve discussed all about how to care for your air plants, let’s have some fun displaying our air plants! Greenhouse Studio is all about bringing the outdoors in and nature-inspired design and decor.
Regarding house plants, this means I don’t like to keep my plants separated in unarranged “plant clusters” off on their own in a group of plastic pots. Nothing wrong with that, and of course they do need to be near a light source, I just don’t like the way it looks.
Instead, I want my plants integrated with my home décor. After all, they’re a big part of my home’s overall “greenhouse style” aesthetic.
With that in mind, let’s talk about ways to turn random, quirky air plants into stylish contributing-to-your-decor air plants.
Tillandsia are versatile since you can easily display them either vertically like hung from a wall, or horizontally on furniture or a counter top. No need to worry about pots and messy soil - very considerate of them, am I right?

Tillandsia xerigraphica air plant displayed on a marble dish on my side table with other natural accessories. Photo | TDW Media
Displaying your air plants vertically (wall mounted or hanging)

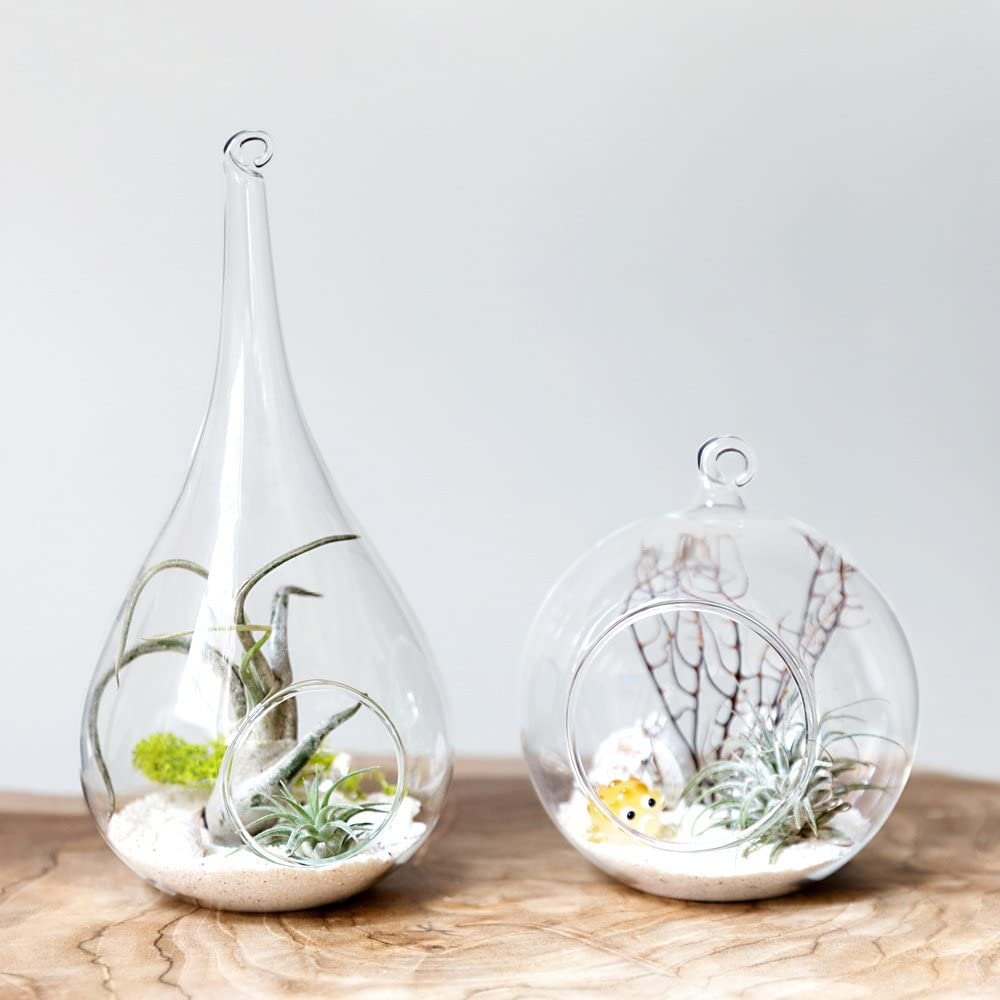
Air plants hanging out in a blown glass terrarium. The terrarium will help retain some humidity. Jeff Sheldon via Unsplash
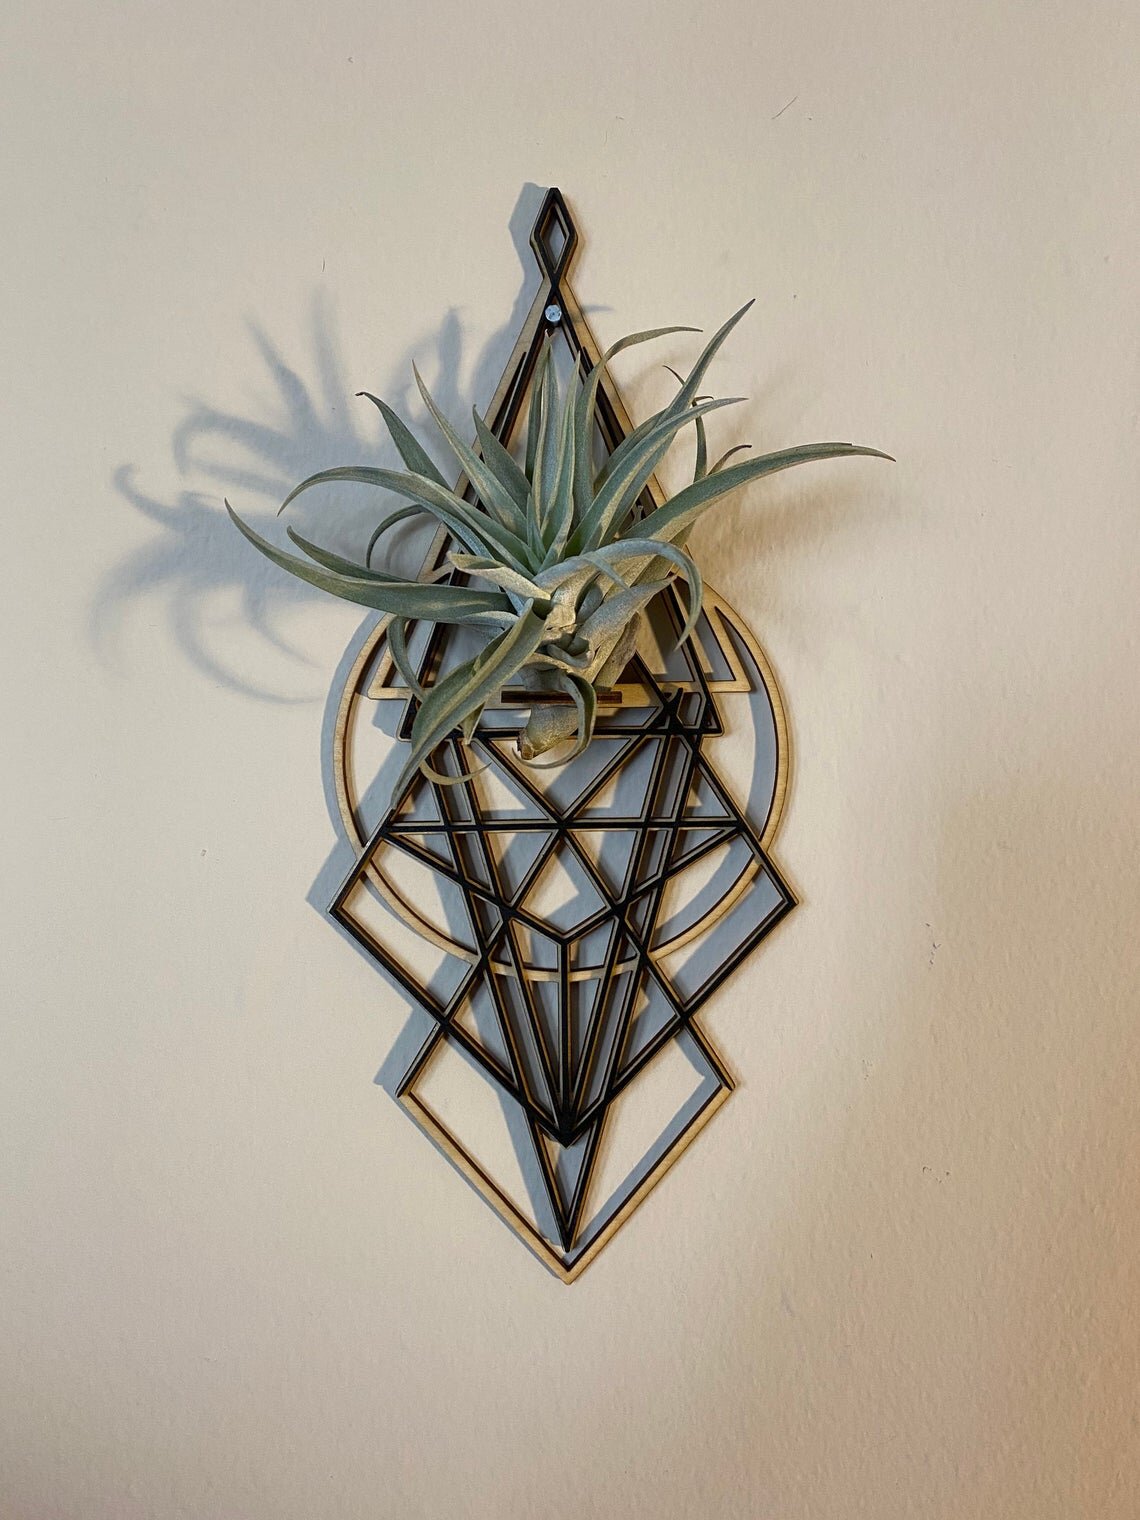
Air plants are epiphytes after all, so they’re naturally found growing vertically in nature. There are some beautiful ways to display them wall mounted on a plaque or hanging.
Blown glass terrariums are pretty and help retain humidity
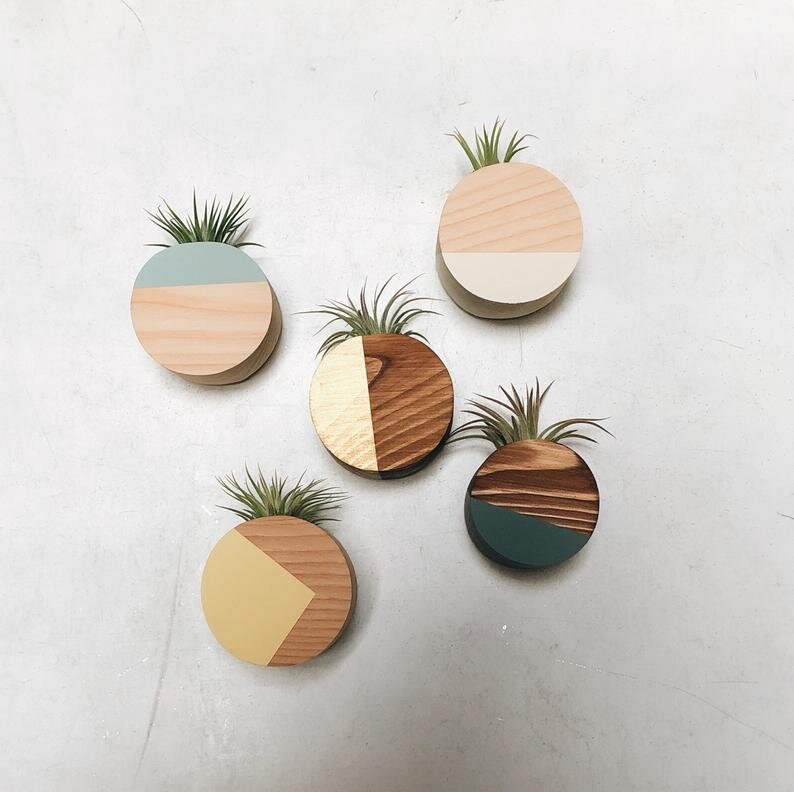
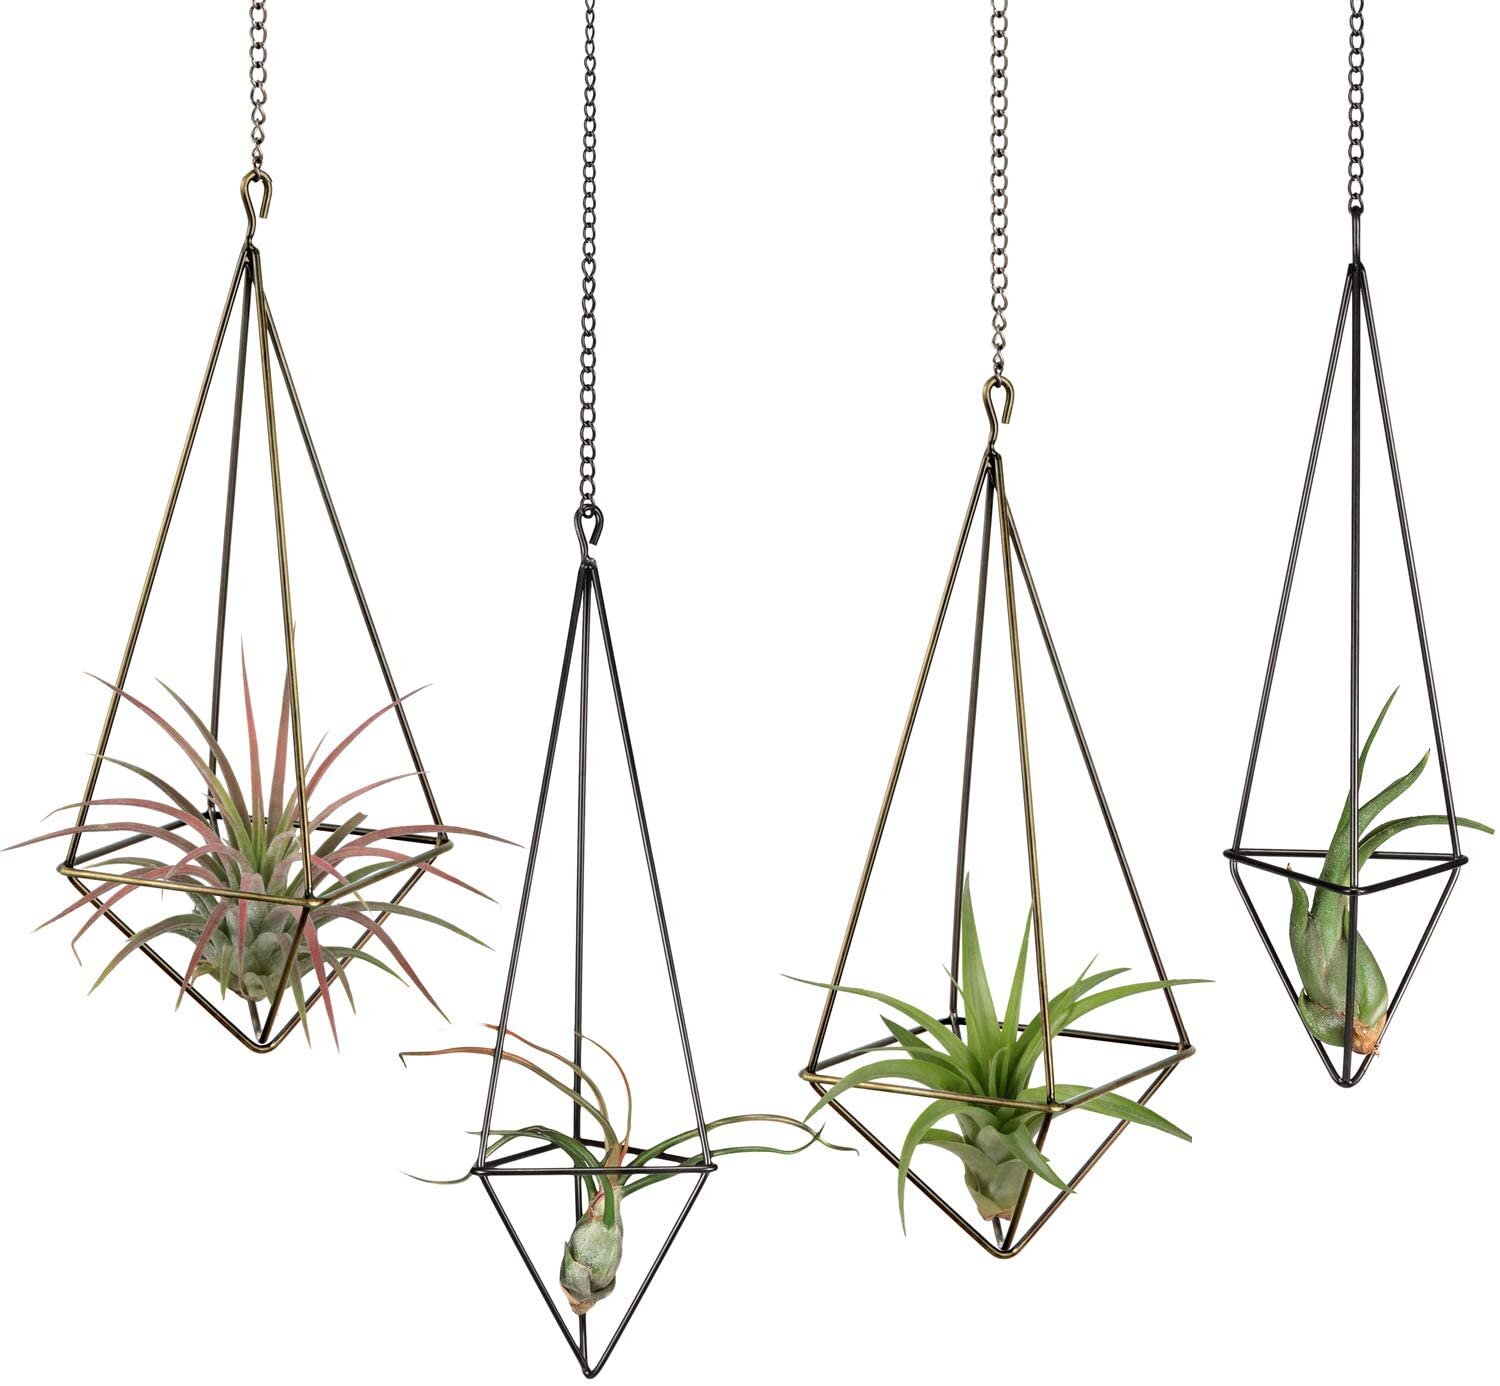
These cute geometric metal air plant hangers
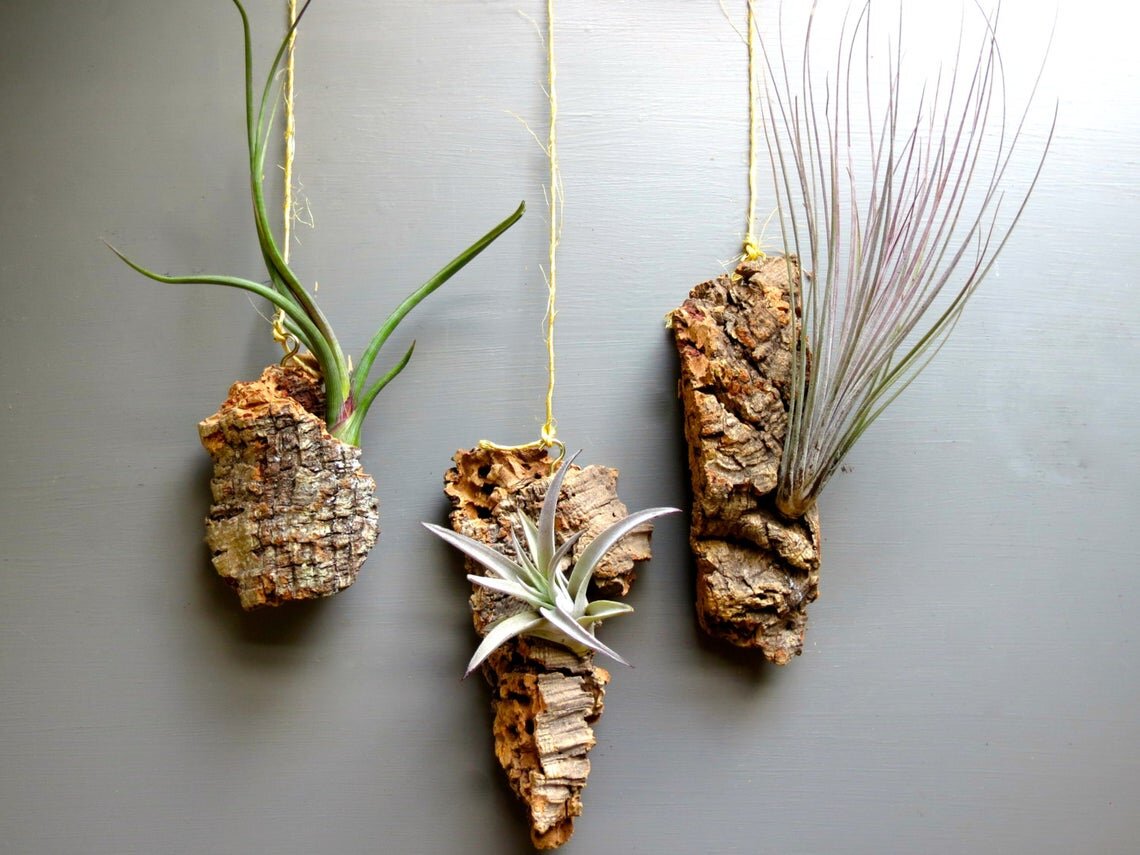
Attach them to a piece of cork-oak bark with either clear nylon jewelry string or a spot of hot glue.
If you search, you’ll find many creative and attractive options for vertical air plant display!
Displaying your air plants horizontally (table or counter-top)
I’ll start by saying I don’t set my Tillandsia directly on wood furniture. If there’s any moisture after watering, it could easily cause surface damage in time. Tile or stone surfaces should be fine, but still check. So this gives me an excuse to source beautiful but simple options for displaying and arranging my air plants!
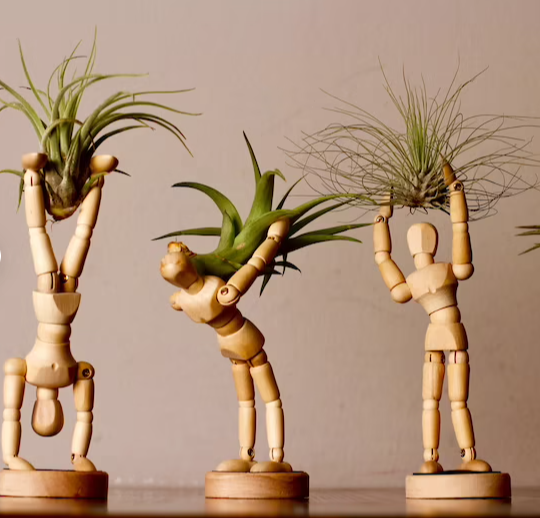
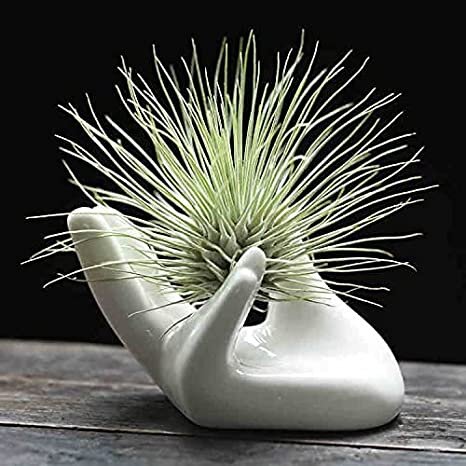
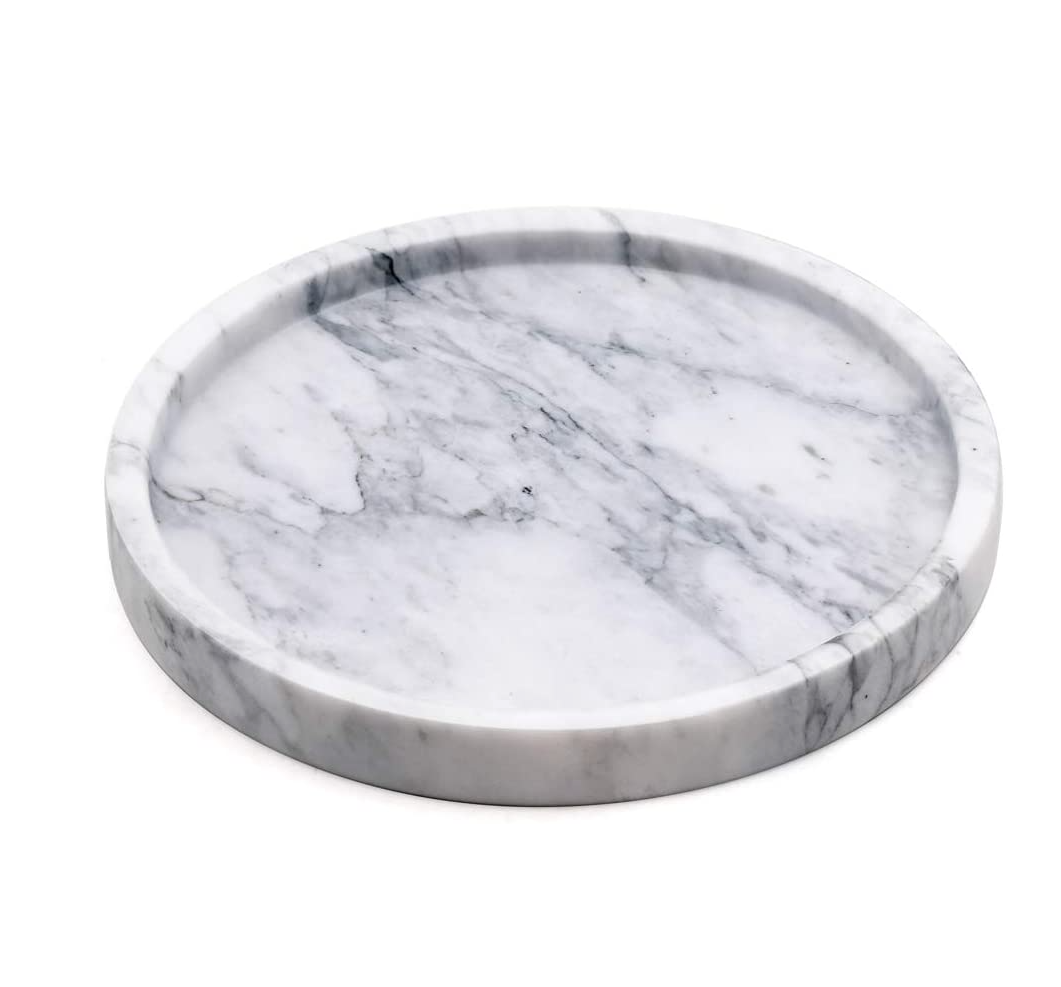
This is the kind of thing where I love to get creative and shop my own home oftentimes. Look around your home for repurposing ideas and see what you come up with. Do you have a unique serving or soap dish, trivet, coaster, or catch-all tray? A decorative tile? A tiered dessert display stand could also hold a Tillandsia collection with accessories beautifully!
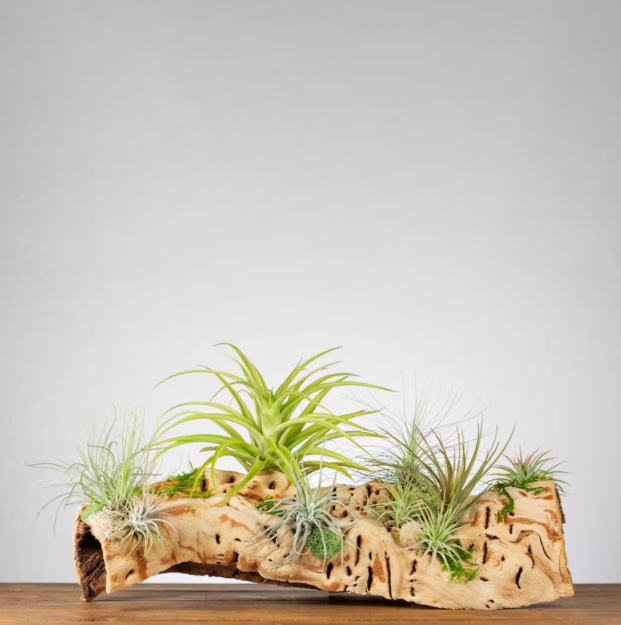
I’ve used a stone soap dish, a broken black stone bowl, (the air plant drapes over the missing edge with a wabi-sabi type feel), a slate tile, a piece of driftwood for starters. Have fun coming up with your own creative ideas!
Here are more beautiful air plant display possibilities:
- Slate or wood cheese platter
- it’s a two-fer: kick out the air plants when you need a charcuterie board!
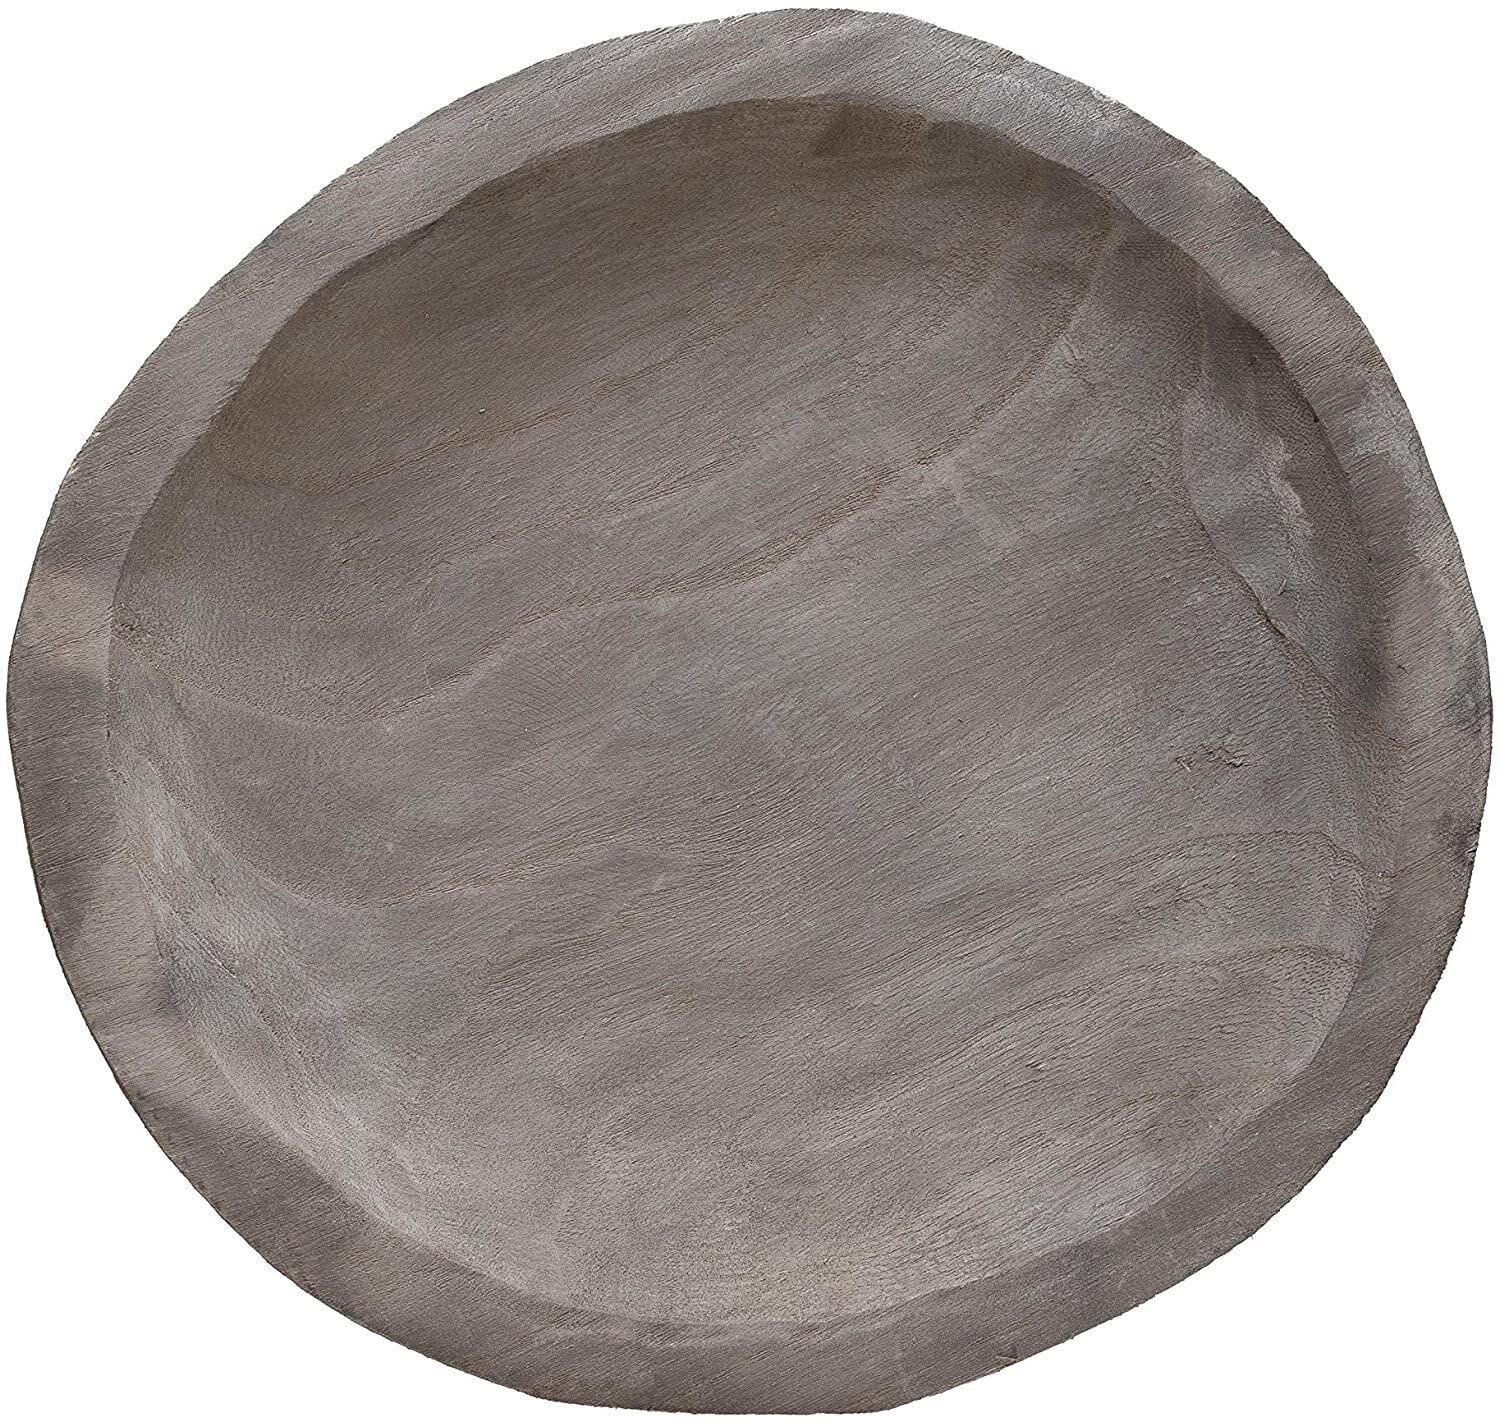
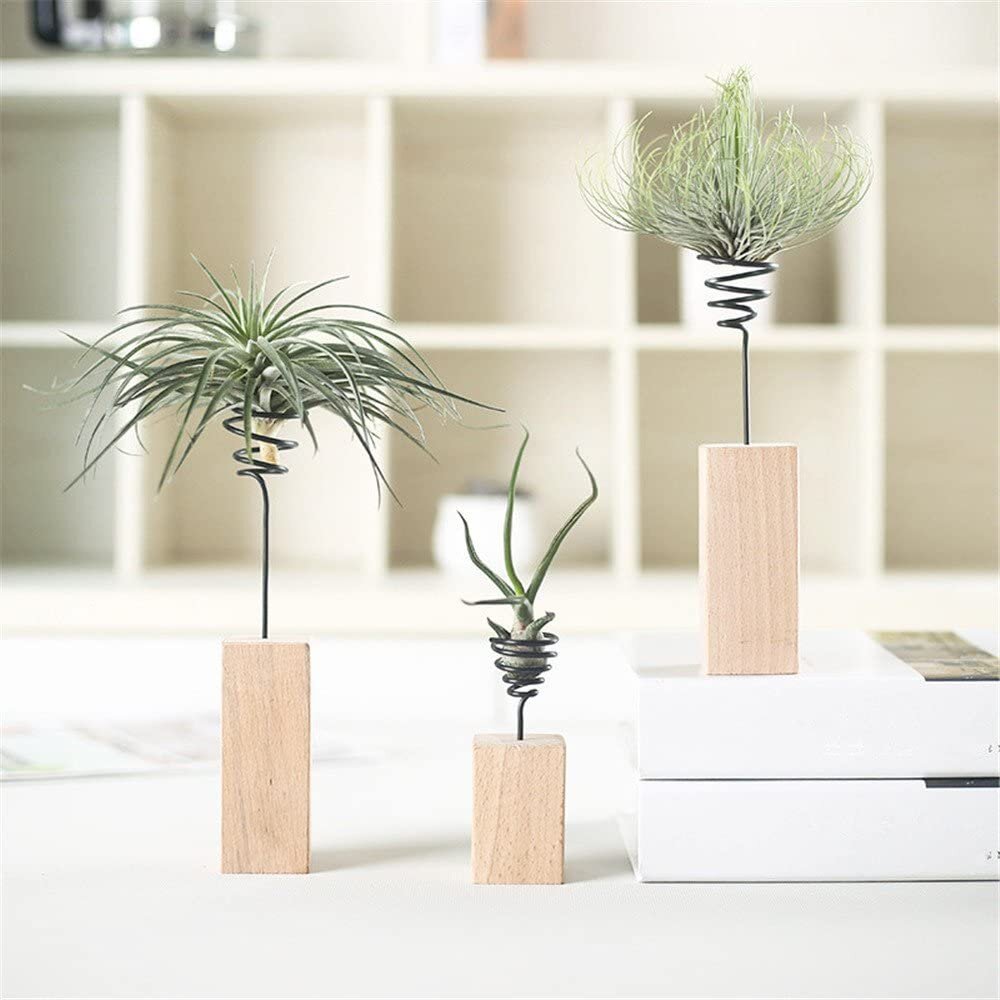
- Gray Paulownia wood tray or Paulownia hair-pin legged pedestal would look beautiful styled with gray-green air plants and other natural accessories
- This marble vanity tray or marble-ceramic dessert tray are the perfect sizes for display

T. xerigraphicas styled in a black stone bowl with African beads. Photo | Greenhouse Studio

This Tillandsia xerigraphica is the only one I keep directly on a surface since it’s a tile mantle. Photo | Greenhouse Studio
Check out my air plant video:
So there you have it - all you need to know to grow beautiful, healthy air plants.
Which camp do you fall into? Mister or Soaker? And which are your favorite types of air plants? Leave a comment below!
[Want more design inspo and helpful plant tips? Let's hang out on Instagram!]
Enjoy this air plant post? Pin it for later!

